Don't miss your chance to invest in 'Fabiola'!
Visit our crowd-funding page for our new production, "Fabiola"!
- Home
- Movie Making Course
- Lighting in Film
Even You Can Get Lighting In Film Down To An Art. Learn Here In Phase 11.
In Phase 11 you are going to learn to master lighting in film.
Congratulations! You've accomplished all the pre-production phases. Give yourself a pat on the back. You should be very proud of yourself.
Now you are ready for the fun part of moviemaking--FILMING!
You will begin your shoot day setting up lighting and audio.
Lighting and audio are invaluable in keeping your audience. Your audience may forgive you for cheap sets and costumes but they will not forgive you for poor audio or lighting.
Despite the fact that lighting in film is extremely important to the overall quality of your movie, it is easy to achieve and can be budget friendly.
In this lesson you will learn how to:
Task 1. Budget Friendly Equipment That Will Get The Lighting In Film Results You Want
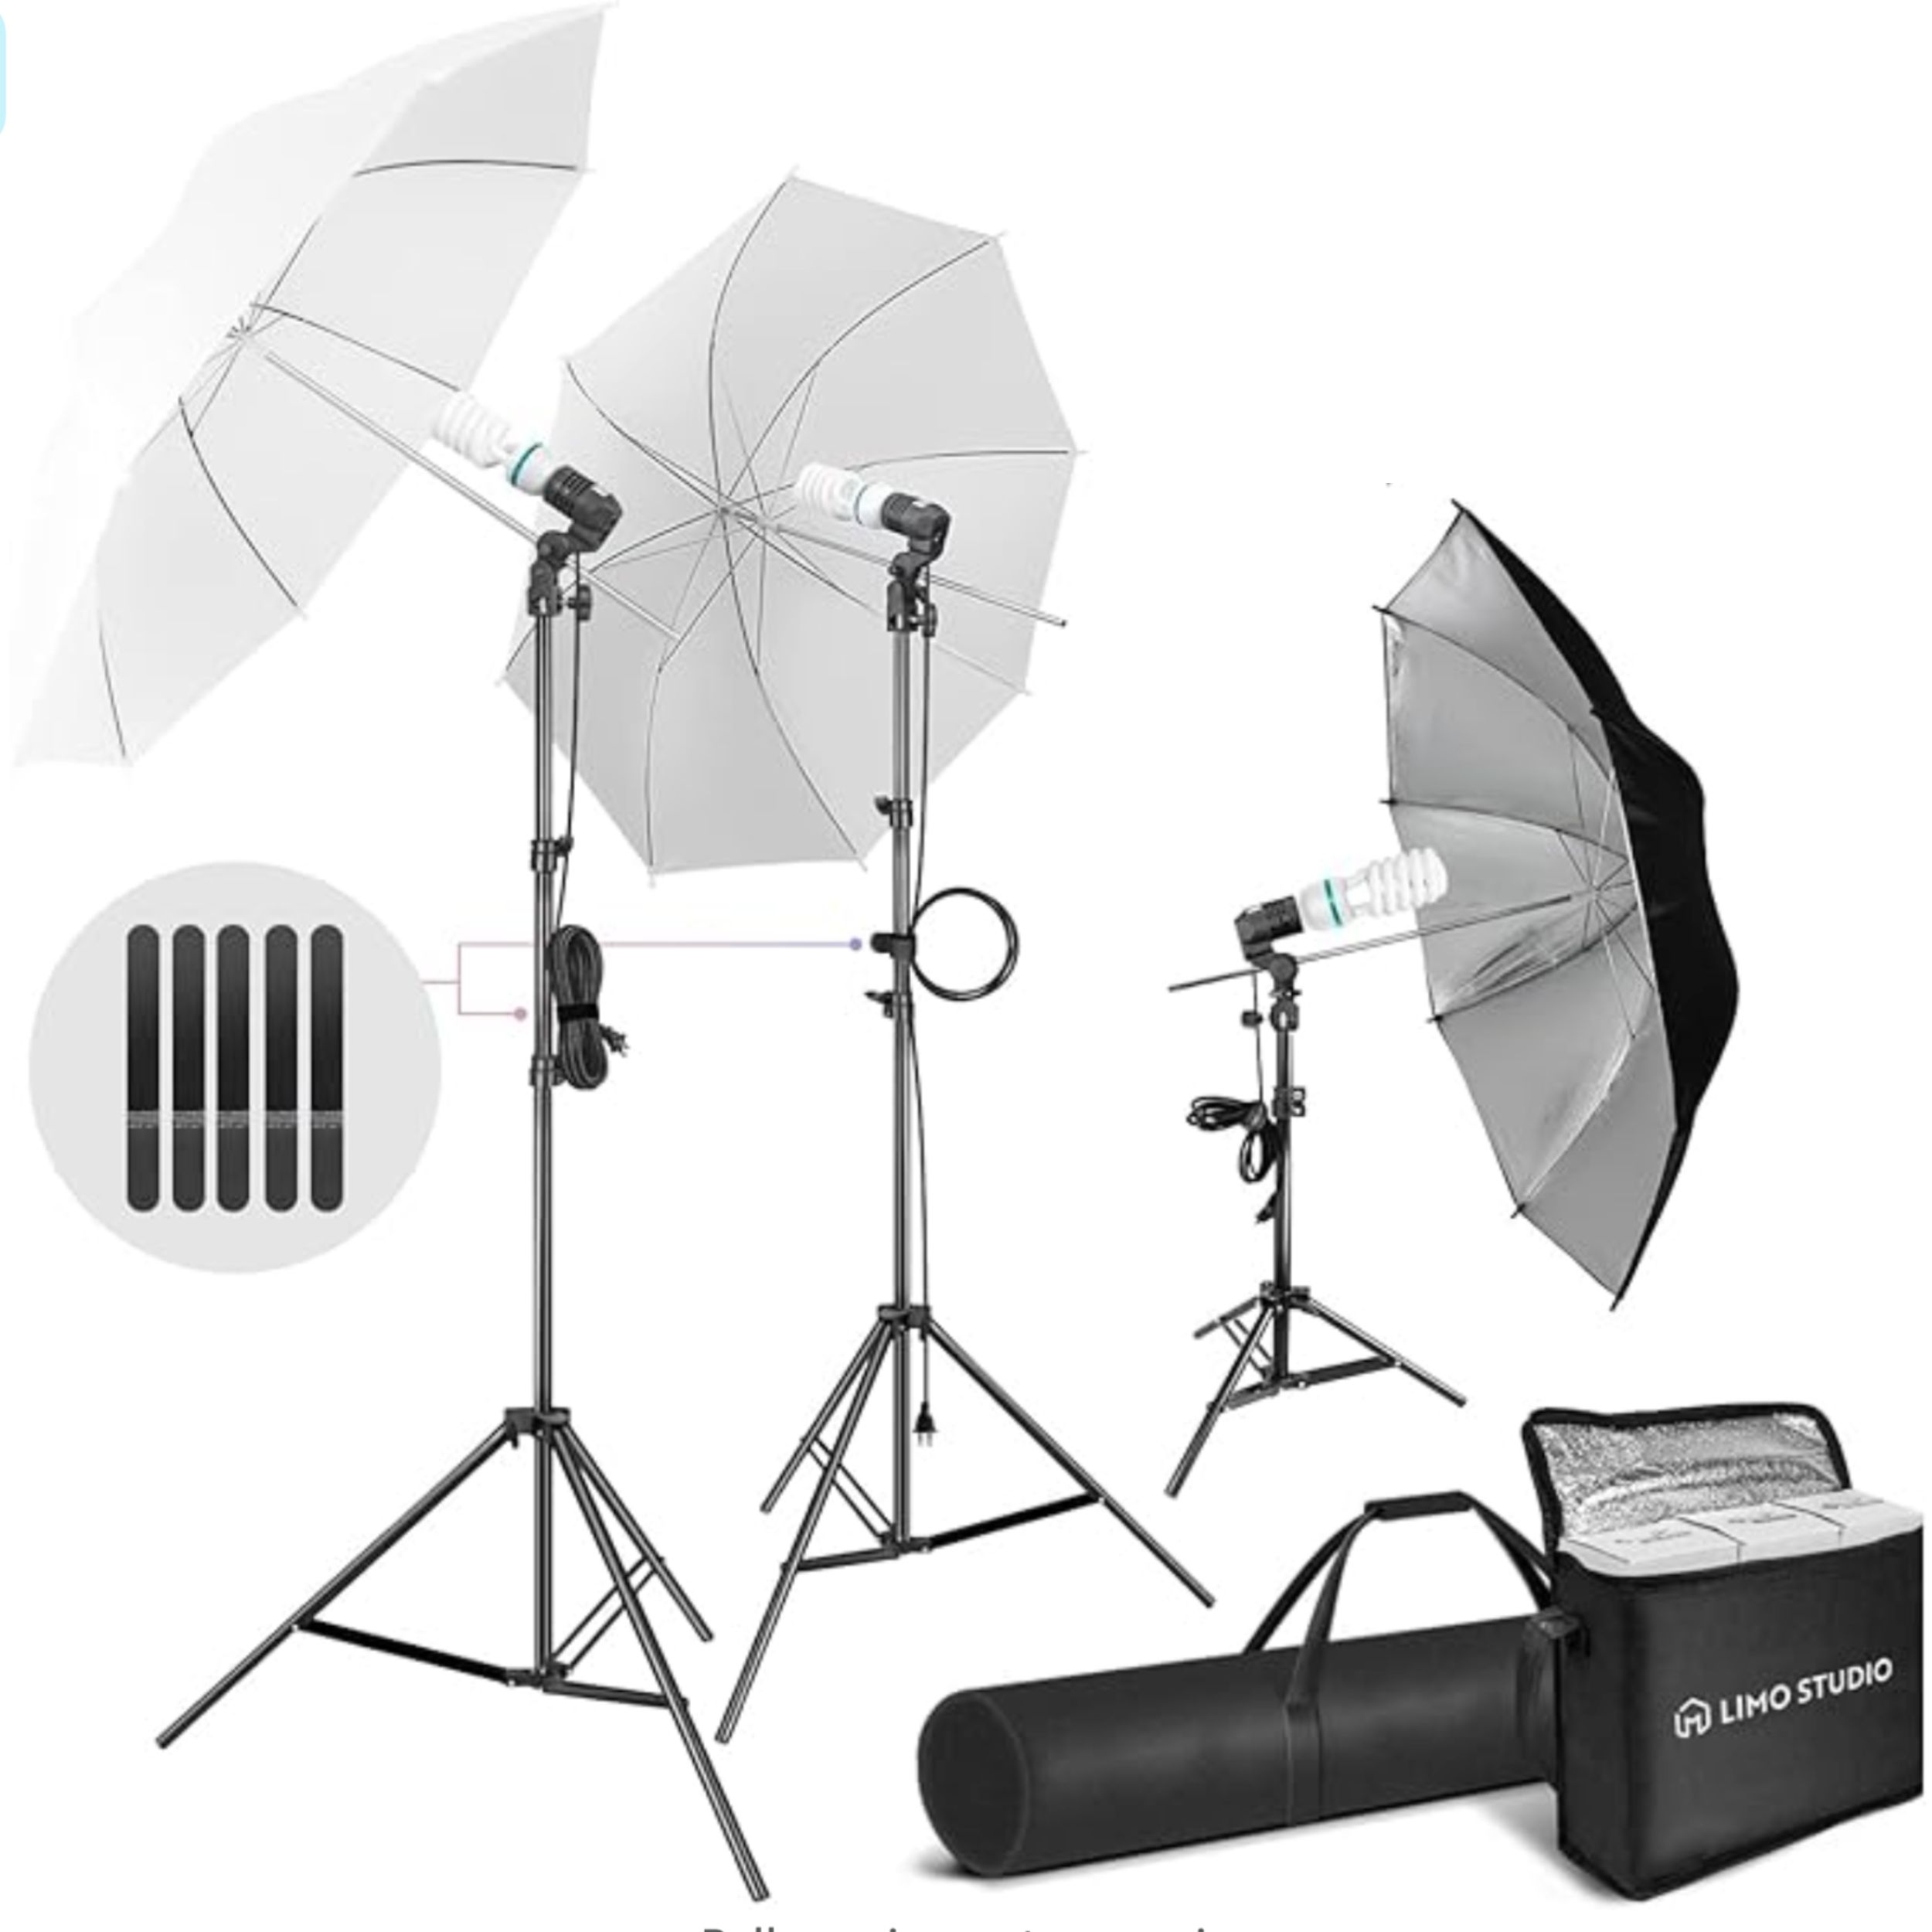
A set of photography lights from Amazon will do a fine job of lighting your set. The type you will want is the umbrella-style set.
Sets usually come with two lights which you will need. The umbrellas serve as filter for the light. The best thing about these types of lights is that they telescope so you can adjust the height.
Oftentimes, you'll find that the umbrellas filter too much light but you can remove the umbrellas and use light fabrics hung in front of the light bulb to get the right effect.
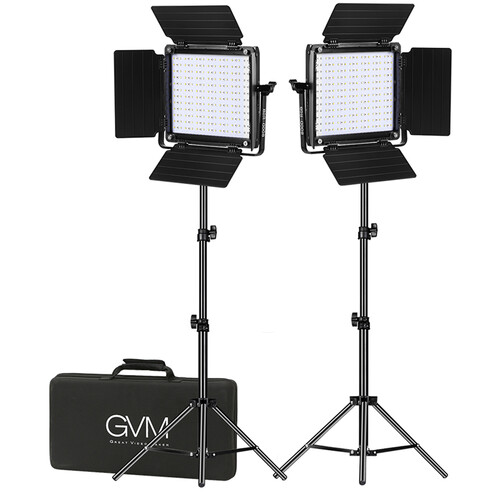
Other lighting basics include a simple key light and a few small lamps for back lighting. Having a portable halogen work light may also come in handy.
You will need a few light bulbs that are both cool and warm.
Some nice things to have on hand are a few thin (but not lace) veils, a garment rack, and some clamps. This will be your light filters. You will be able to achieve your desired effect much easier with this set of tools than you will with the umbrellas.
The garment rack is especially useful as you can bring it closer or take it further from the light to get better effects.
Task 1 Checklist:
Gather all of the essentials you need for lighting in film. You need:
1. Studio light set or
2. Photography lights with umbrellas
3. A few small lights
You may also want:
1. Portable halogen work lights
2. A few veils if using photography lights (warm and cool colors)
3. A garment rack
4. Clamps
Task 2. Lighting Basics For Setting Up Your Lighting
The first thing to do when you get on set is set up for the wide shot. It is important to know where the action will be and make sure the set is well lit up but that no lights appear in the shot.
Have the cameraman set up the main camera so you know where the shot is and so that you can look into the camera as confirmation of how your lighting is looking "on screen."
Set up first then make adjustments.
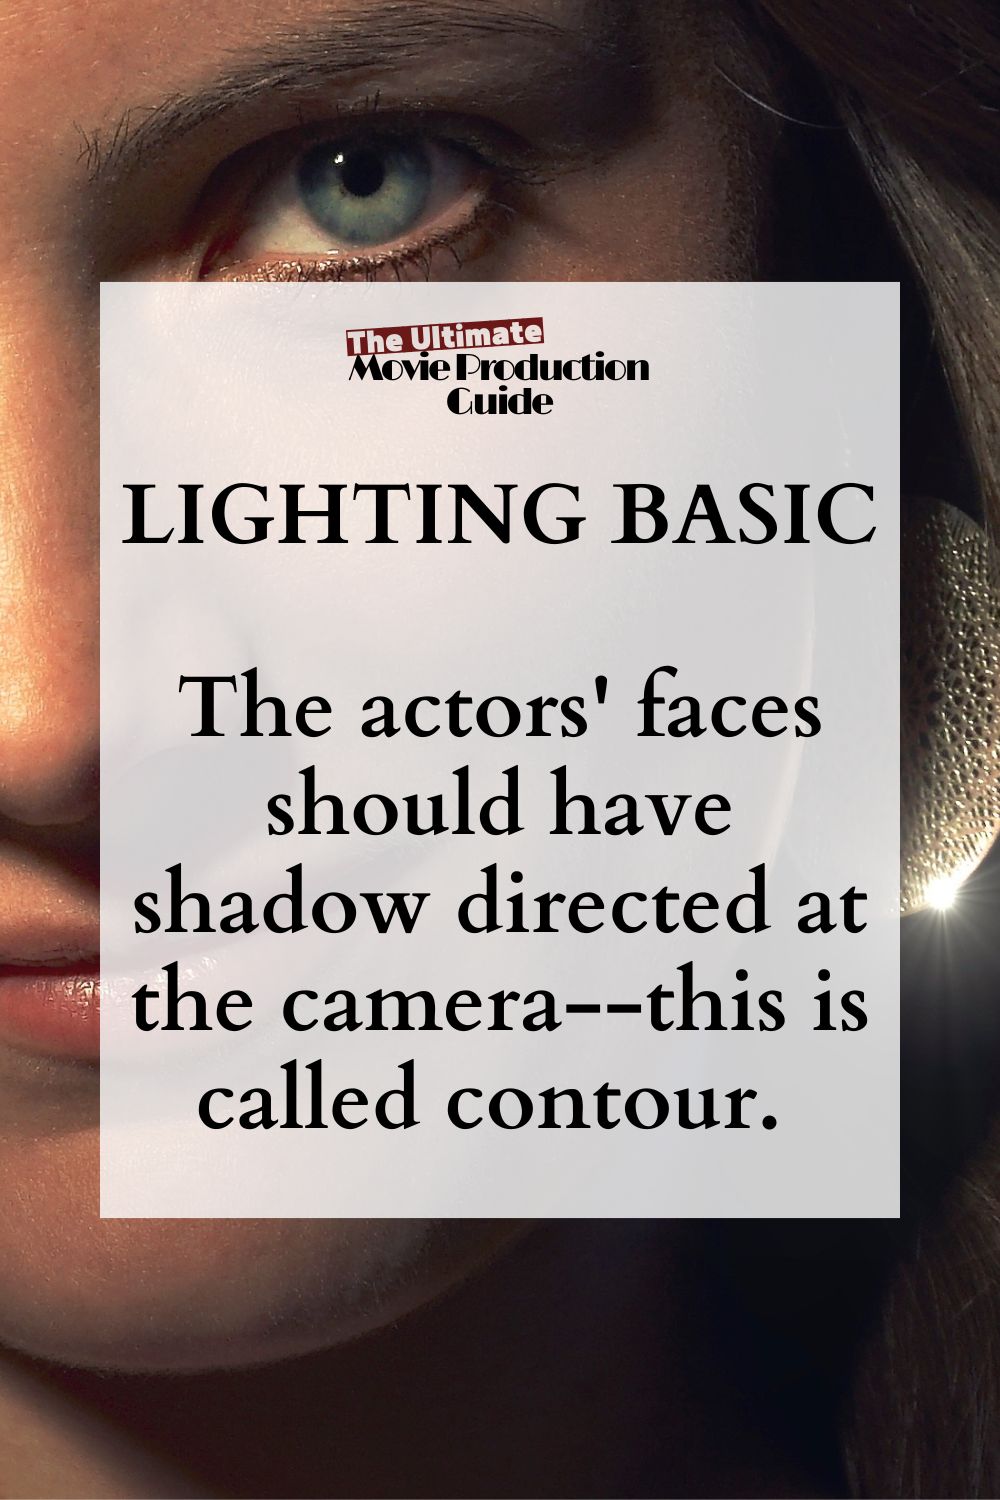
Here's a lighting basic to master: the actors' faces should have shadow directed at the camera--this is called contour. This seems counter intuitive but it is consistent in cinematography lighting.
With this lighting in film basic in mind try to master an interior day wide-shot first. Bring in the tall light from the opposite side of where the camera is shooting as a contour light.
You are essentially lighting up the side of the actor that is away from the camera.
Next, bring in the shorter "umbrella" light to fill the scene with more light to tone down the contour.
This is called fill light.
Then use the small sized key light to emphasize the effect you are after. At this point go check out the actual look on camera by looking through the main camera. Make adjustments with the key light first.
Hopefully your set has some depth and texture. Use your lamps to back light anywhere that depth can be added but make sure it is not in the shot.
The last thing to do is get the mic in as close to the talking as possible. You don't want the mic in your way while adjusting the lights so always add the mic last.
Task 2 Checklist:
Follow these steps when setting up lighting. To recap:
1. Bring in the tall light
2. Bring in the short light
3. Bring in the key light
4. Check the shot
5. Adjust starting with the key light
6. Bring in back lighting
Before moving on to lighting for closeups, let's talk a little more about achieving good lighting.
3. Beyond The Basics And Achieving Good Lighting
There are different types of lighting. A 4 point lighting system like the one described above is the best approach to cinematography lighting. We talked a little about fill light above; but to get a better grasp of what it is, a simple fill light definition is in order.
Fill light fills the contour that you create with the main light.
On exterior shots, the fill light eliminates dark shadows caused by the sun. A white board used to bounce light back up into the actor's face on sunny exterior day shots will look more cinematic.
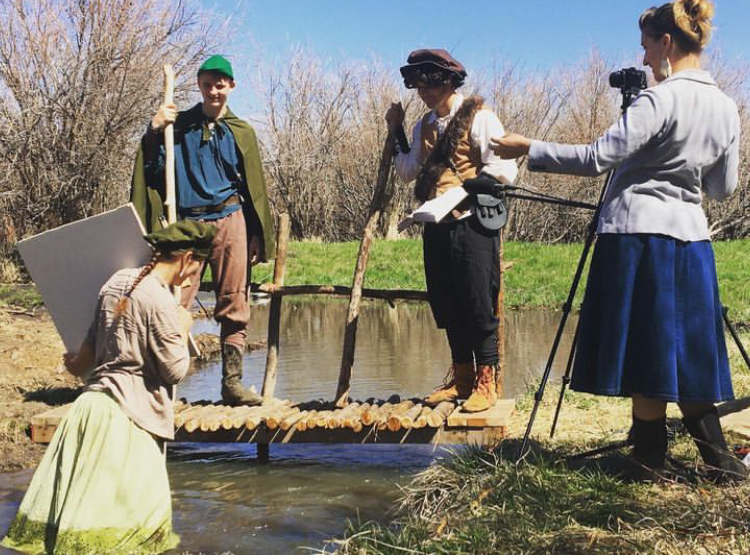 In this picture, Faustina is holding the board used to reflect light into the actor's face to make the lighting just right.
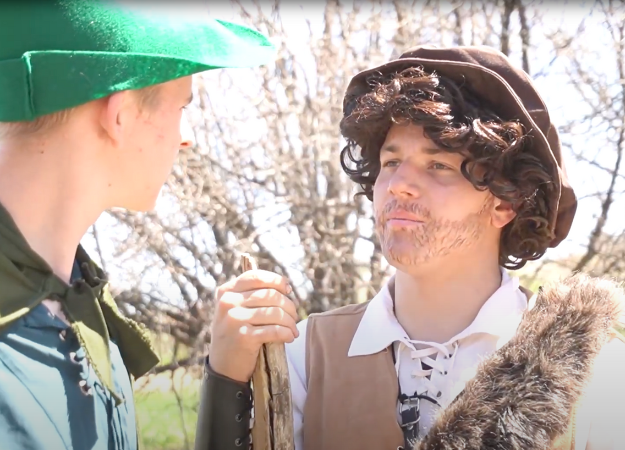 Here is the effect on screen of using a reflecting board.
When referring to key light in film we mean the small light that is used to get the subject of the shot just right. That is the reason you set the "key light" last. This way you can move it to be sure your shot looks perfect.
The key light is probably more professionally understood as the main light on set. So technically the small "key light" and the first tall "umbrella" light you bring in combined make the key light. Together they give the shot the overall effect.
Don't forget to use your garment rack and veils to get the desired effect. Try moving the lights further back if there is no room to move your garment rack forward.
If you cannot get the effect you are looking for, try the halogen work light. You will not need this light very often and be sure to use a heavy filter such as a muslin veil on your garment rack.
Here's a second lighting basic to master: When bringing in the first tall light, consider what sort of natural light is lighting up the scene and try and make it seem like your lighting is coming from that natural source.
It could be a window or door opening that is letting in the sun or the moon.
It could be a candle on the table or a fire on the hearth.
This is called "motivated light". Just ask yourself, "Where is the light in this scene coming from?" Then develop the contour spoken about above with this natural light as its source. This is where your warm and cool light bulbs are needed.
Use warm for natural light illuminated from a candle or fire or the evening sun.
Use cool for the midday or morning sun and the moon.
A blue veil or an orange veil filtering the light will add to this effect. Your garment rack will come in handy here.
After the key light is perfect you will focus on the back lighting in filming which includes lighting from below and sometimes frontal lighting. Hopefully your sets have depth.
Depth means that you have more than one layer. You should light up the back layer or layers with back lighting. This is where you will use your lamps.
Lighting from below and frontal lighting can be used on modern sets and medieval sets alike. This is done by simply adding a candelabra or a banker's lamp to the forefront.
Task 3 Checklist:
Take your lighting to the next level by employing:
1. 4 point lighting
2. Motivated light
3. Backlighting
4. Frontal lighting
4. The Overall Quality Of Your Film Will Be Accomplished By Focusing On Close Shots
Hopefully you've played around with lighting a wide-shot. When you are ready for your close shots, bring all the lighting forward in the order you originally set it up.
Keeping in mind the first lighting basic--the actors' faces should have shadow directed at the camera--orient the key lights that we've talked about so that you can create this effect. You will need to get your actor on set to do this.
Another important lighting basic to master is this: the natural light you designed for your wide-shot must be the same source for your close up. You cannot create a new "natural" light source. This is a continuity problem and will be noticed.
Task 4 Checklist:
Use the same method for lighting a wide shot in your close shots.
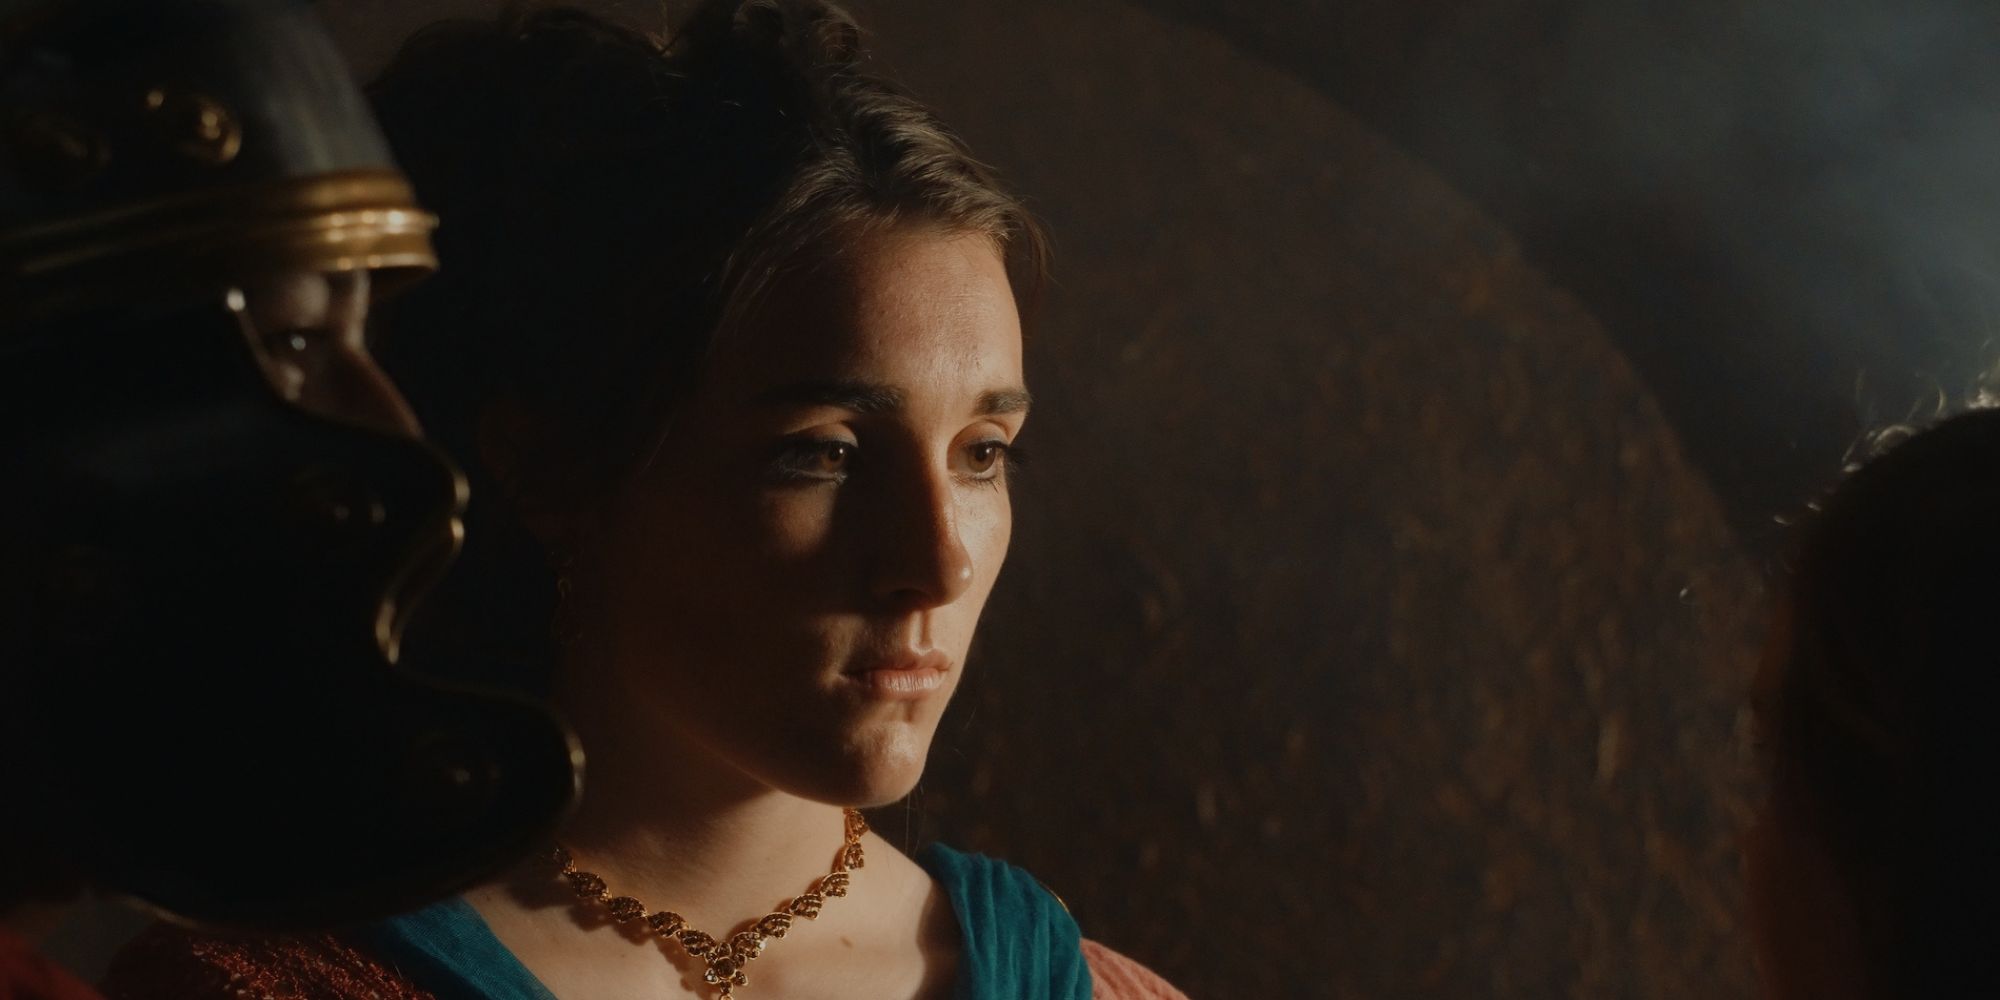 This is an example of using motivated light.
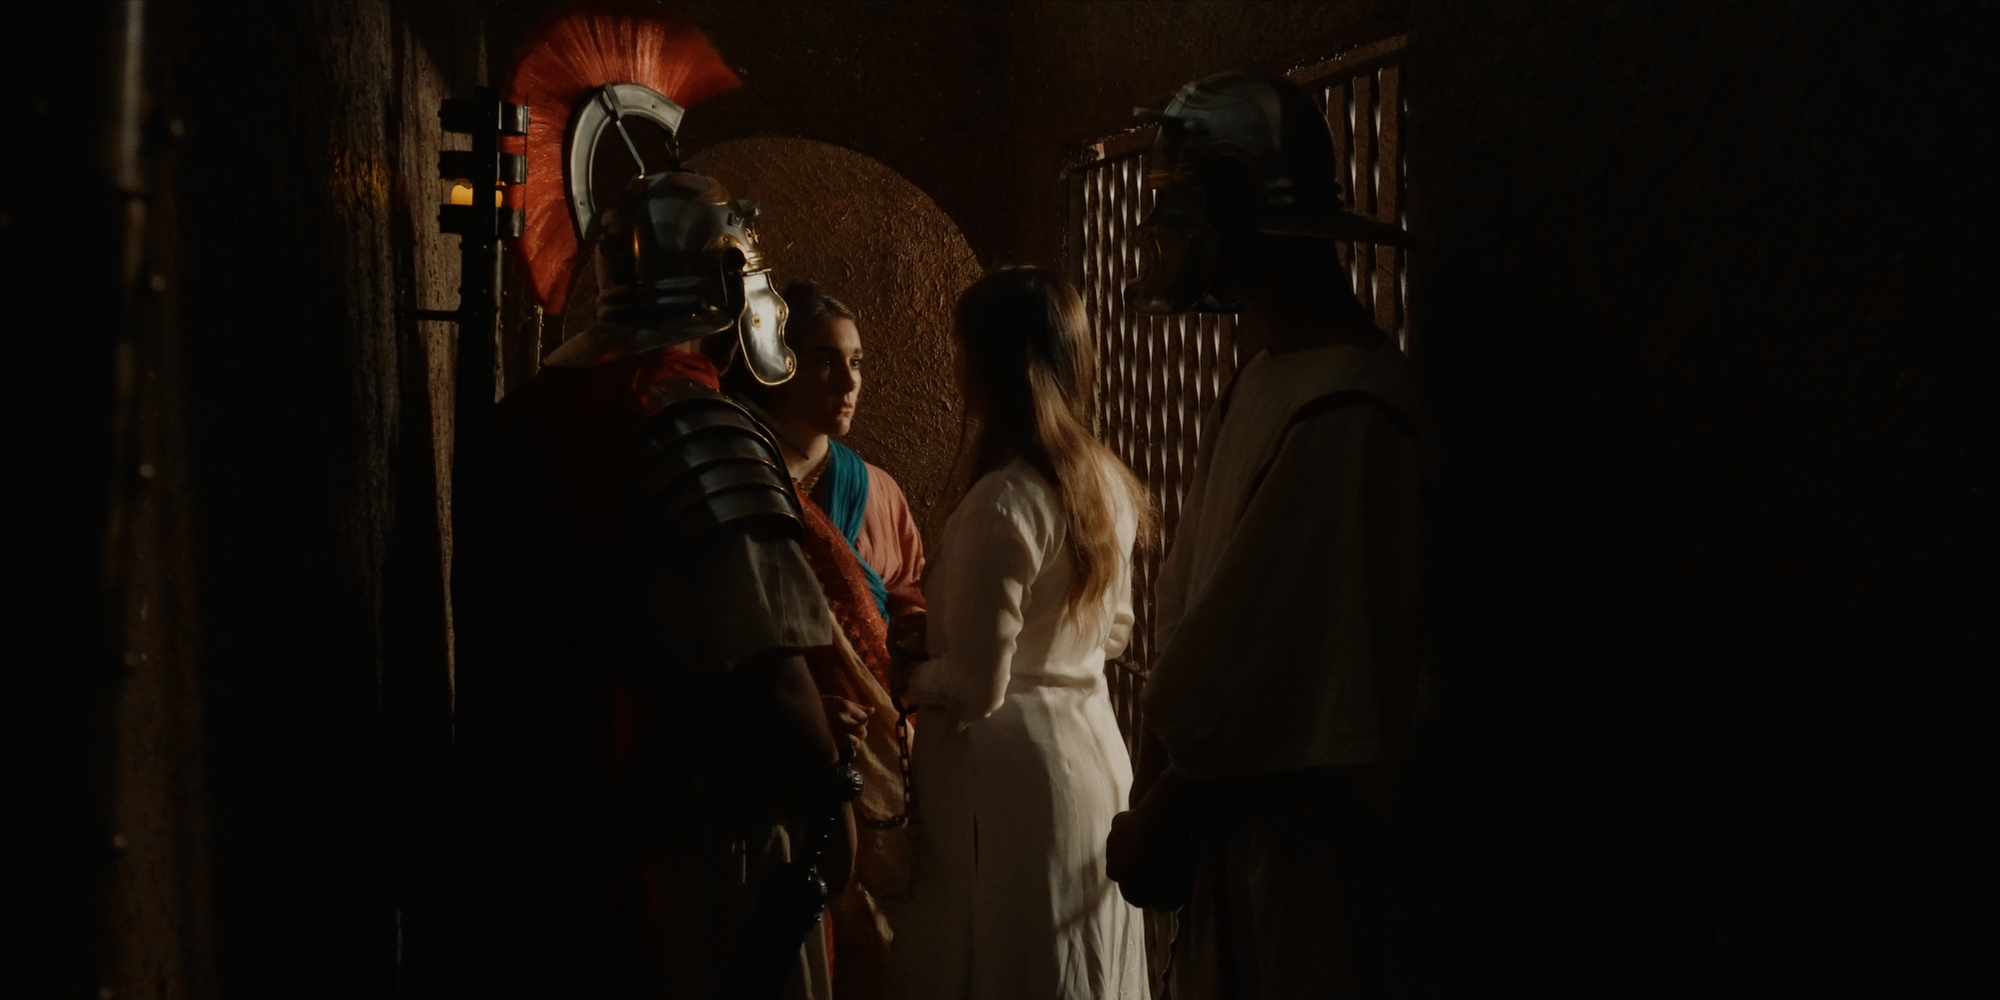 This is an example of good light contour in film.
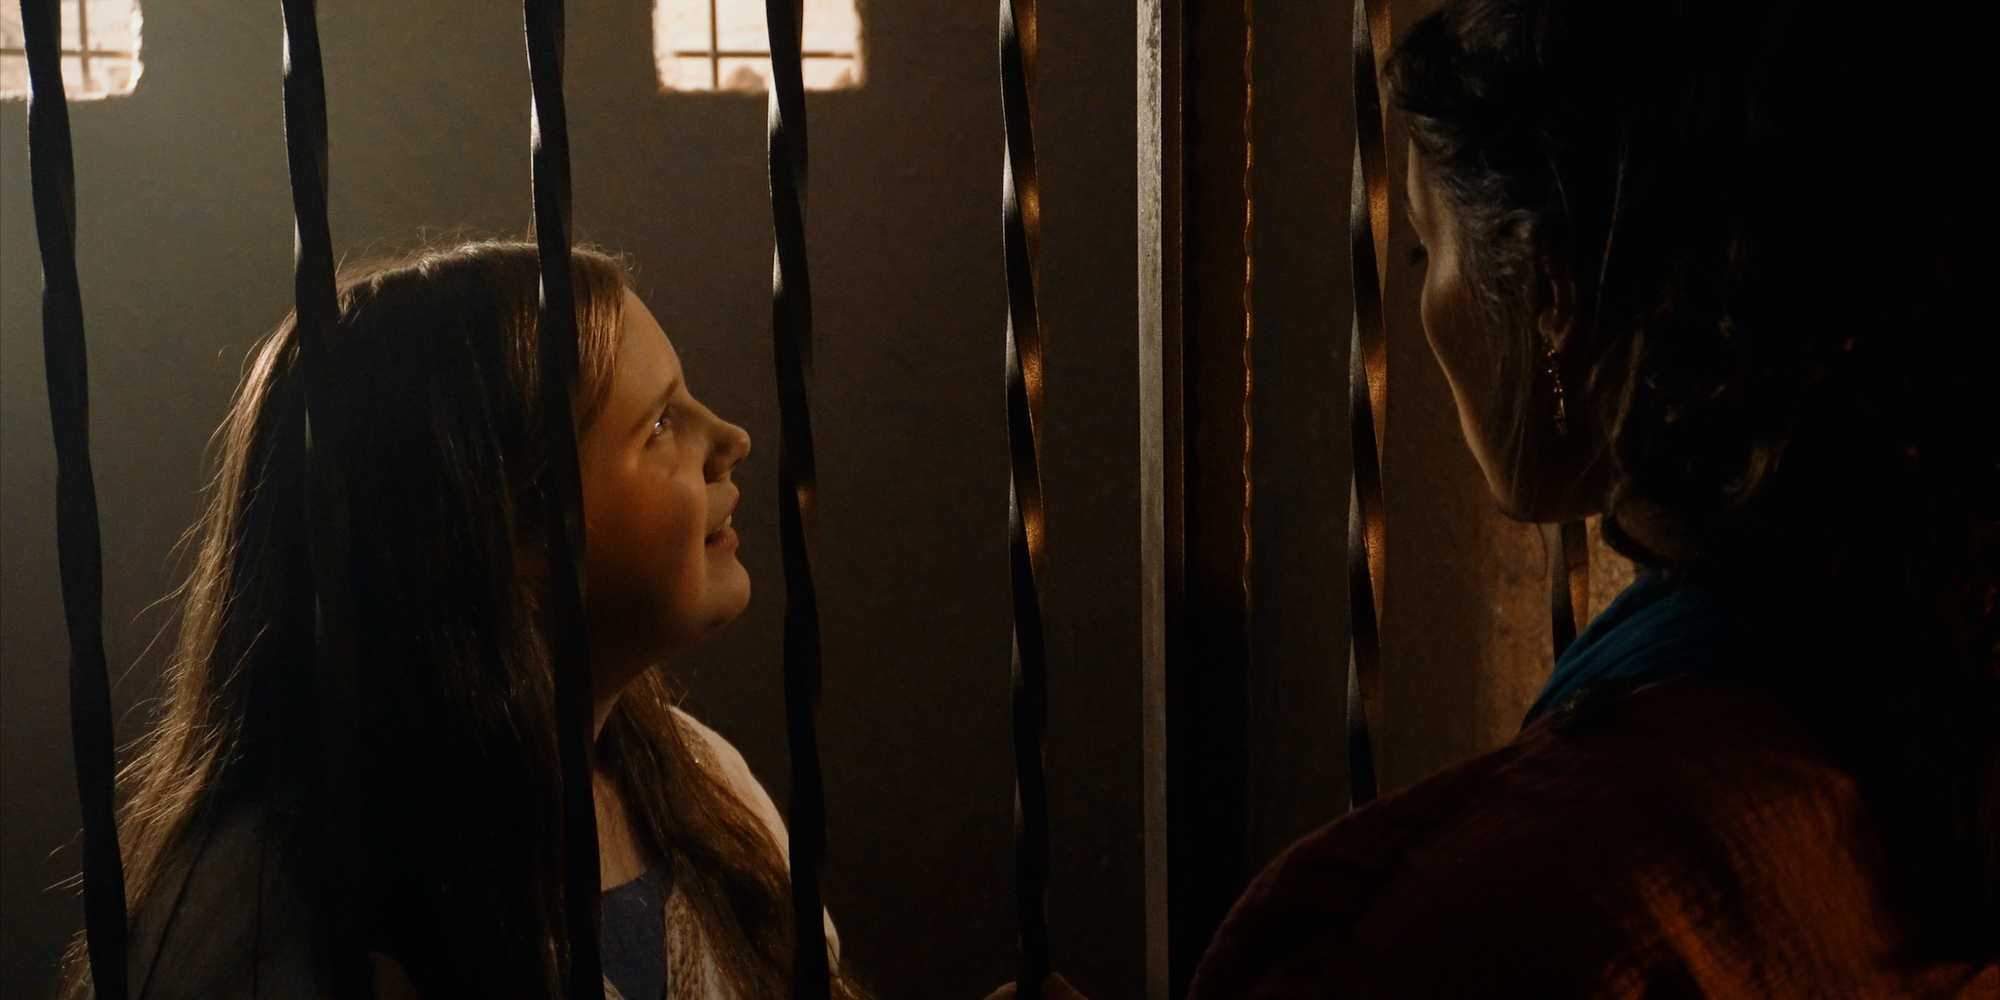 This is an example showing the use of back lighting.
Now You Should Be Able To Provide The Lighting Your Audience Expects
Lighting in film is extremely important to the overall quality of movies. If you have mastered the three basics that you learned during this phase you're well on your way to pleasing your audience. Make sure you always:
- Make the shadow on the actors' faces face the camera
- Consider what sort of natural light is lighting up the scene and try to make it seem like your main lighting is coming from that natural source.
- Keep the "natural light" you've made in your wide shot correspond with the source in your close up.
Practice makes perfect. In the early days of shooting sometimes you'll nail it. Other times...well maybe not so much. Keep practicing and stick to the three basics that you learned during this phase.
Now move onto the next phase you'll need to master before your first shoot day and learn how to apply:
Do You Need An Additional Push Before Your Lightbulb Moment?
Did I miss something on this page? Do you have any more questions about your current lighting, our current lighting, film lighting in general? Please leave it below. I'd be happy to help you with them!
