- Home
- Movie Making Course
- How To Edit Your Films
Learn How To Make A Video With These Basics Tips And Tricks. See Your Work Come Together In No Time
Congratulations! You are officially in post-production! In this lesson, you will learn how to organize your footage and grasp the basics of how to make a video. The tasks will include:
- Determining which editing software you will be using
- Organizing footage
- A few more specific tips depending on which editing software you are using
In addition, we will also go over the terms used during this lesson to ensure that everything is as clear as possible. Editing is a skill and does need some getting used to and is easier to learn through hands-on experience so don't worry if you feel a little confused while reading through this lesson. I have attached a video with each segment to help.
Grasp The Basics Of Video Editing
Before we go into how to make a video, it is important to know a little bit of the vocabulary and lingo using in post-production. Here are a few of the terms that we use and their meanings.
- Footage - the video part of your movie
- Audio - the sound of the film. Usually depicted as green in editing tools
- Raw footage - the video which has come directly from your camera with no edits
- Timeline - the bar line in which you work to edit your film
- Video file - .mp4 or .mov is the standard file for visual footage (movie)
- Audio file - .wav or .mp3 is the standard file for audio track (sound)
Storage and size is another thing you should be aware of. The Mac that I am currently working on is a MacBook Air with 8GB memory. That means that it will hold about 8GB of storage. This has worked for me while editing one movie at a time but I do need to have an exterior drive to hold all the footage for years worth of movies. I have purchased an exterior drive to hold all the footage. I have a Seagate 2TB One Touch. These come in various sizes but a 1TB or a 2TB should be enough to hold many movies.
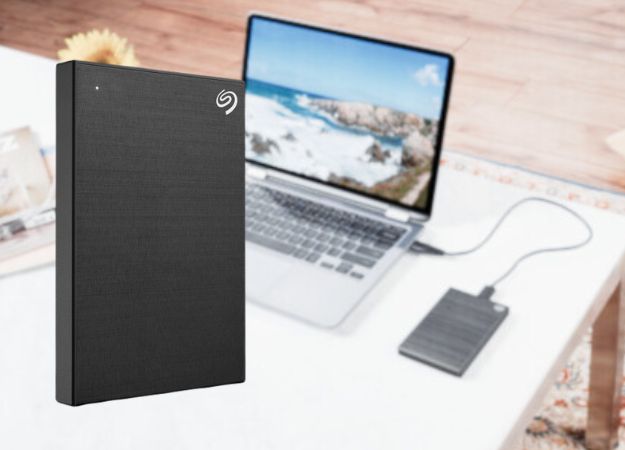 External drives like this One Touch are great for organizing and storing footage and finished films.
Task 1: Determine Which Software Is Compatible With Your Computer
Every computer brand comes with a different software for the use of editing video. Here are a few of the most popular editing softwares that we have used over the decades.
How To Edit A Video Using A Windows Software
Industrious Family Films tried many video editing tools over the years. If you have a Windows, you may want to look into locating their video editor, MovieMaker.
We used this software in the early days of filming and it does the job. Being many years since using it, I'm sure that it has undergone many updates since then so I encourage you to tour it and play around with their tools.
I'm sure that its basics are very similar to the other two softwares that I will cover in this course.
Apple's iMovie - One Of The Leading Film Editing Tools Out There
If you have a newer Mac, your computer has already come with all the tools that you need to start editing a movie.
We used iMovie for years and even after upgrading to better softwares, I still occasionally open it to get quick videos edited.
This software is free and comes with a variety of text effects, video effects, audio effects, transitions and even the use of green screen!
Adobe Premiere Pro - The Best Editing In Film
Adobe offers many programs to help better your video productions. Premiere Pro is their basic film editor.
I only recommend upgrading to this after you are very familiar with iMovie as the two are somewhat similar. Adobe offers a much wider range of things that you can do with footage such as sliding the frame, resizing the frame, color matching, the text tools seem unlimited, and green screen use is more seamless.
Compared to iMovie, the editing timeline is a little cumbersome at first but you get used to it. Adobe is a subscription based program so make sure that you will be getting the best bang-for-your-buck before you jump in and install it on your computer.
Adobe also offers many add ons like special effects, animations and so on.
Task 1 Checklist:
What kind of computer do you have? Is it a Mac or a Windows? Look into what software is a best fit for you. Here are our recommendations:
- MovieMaker
- iMovie
- Adobe Premiere Pro
Task 2: Organize Your Raw Footage
Keeping your footage organized will make the editing process a joy and you will not spend hours frustrated wondering where footage went. Dumping footage onto the computer or hard drive after every shoot and organizing by scenes or shoot days is a wonderful idea.
If you are using a separate audio recorder, the same applies here. Add its tracks to the footage that it matches and you won't have to hunt it down by scrolling through hundreds of numbered files.
You can organize footage either by the date shot or by the scene. I have found that organizing footage by the date is easier for me. After every shoot I put footage in a folder and name it something like "Shoot Day 1" or "June 12".
For short promo videos, I usually upload the two or three clips straight to the editor but I do not recommend this for a full-length film. You are working with hundreds of clips versus a handful.
Task 2 Checklist:
1. Upload all your day's footage onto your computer or an external drive.
2. Organize your footage by shoot day or scene.
3. Upload your audio tracks at the same time (if you have separate audio).
Task 3: Learn The Basics Of Film Editing With The Two Softwares I'm Familiar With Complete With Video Guides
Edit A Video Using iMovie
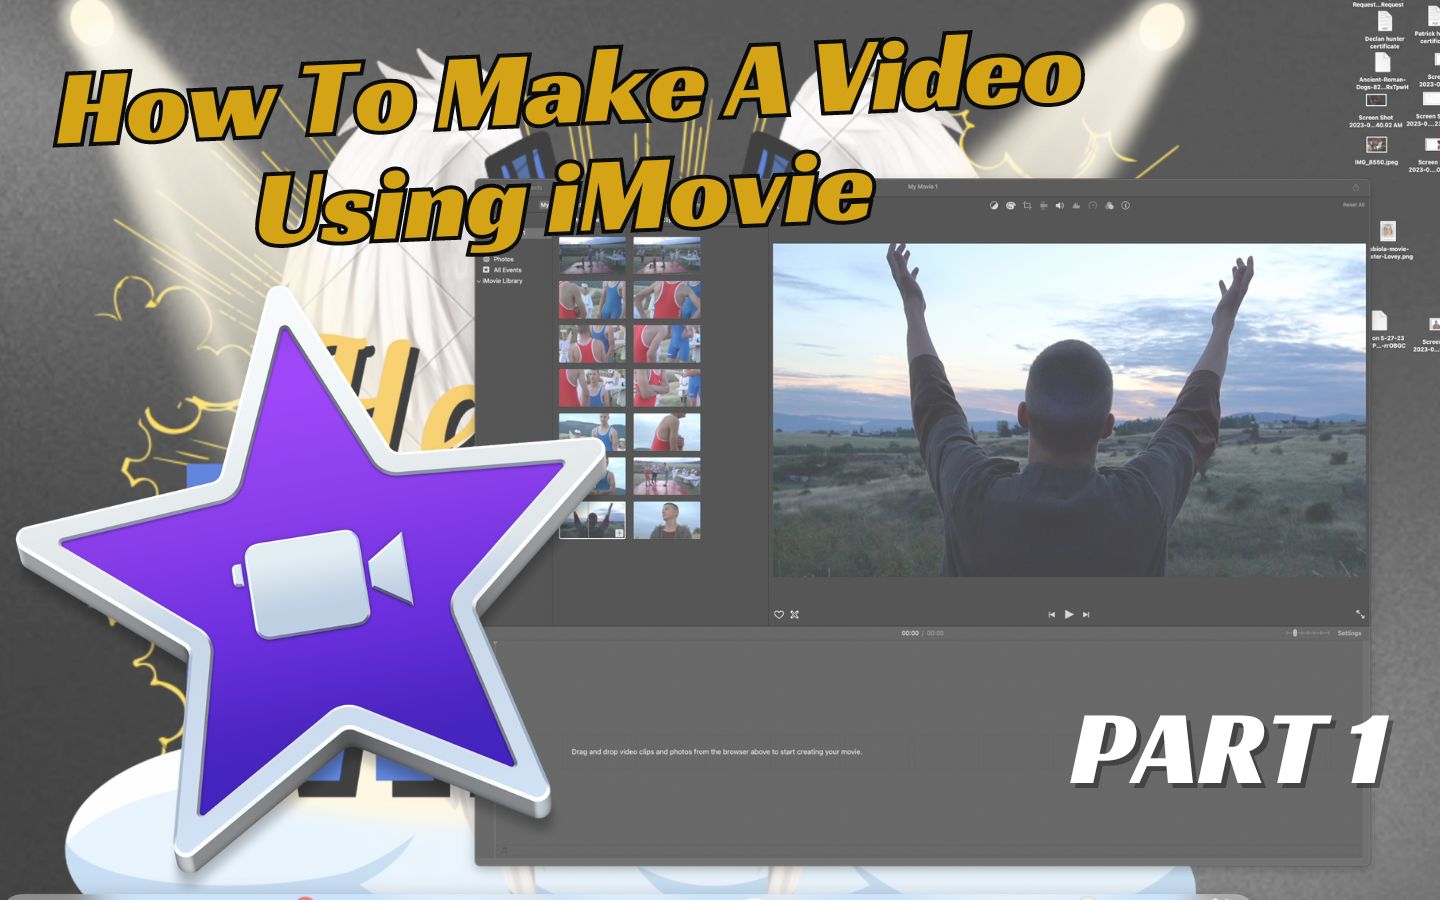
In these series of videos I will edit a short film that we recently made. You will learn how to start a new project, add footage to your library and timeline, match audio, cut tracks, add transitions and fades and make tracks run smoothly together. Let's get started!
In this video I cover how to insert and eject drives properly, upload footage and match audio tracks in Apple's iMovie. Let's get started with part 1...
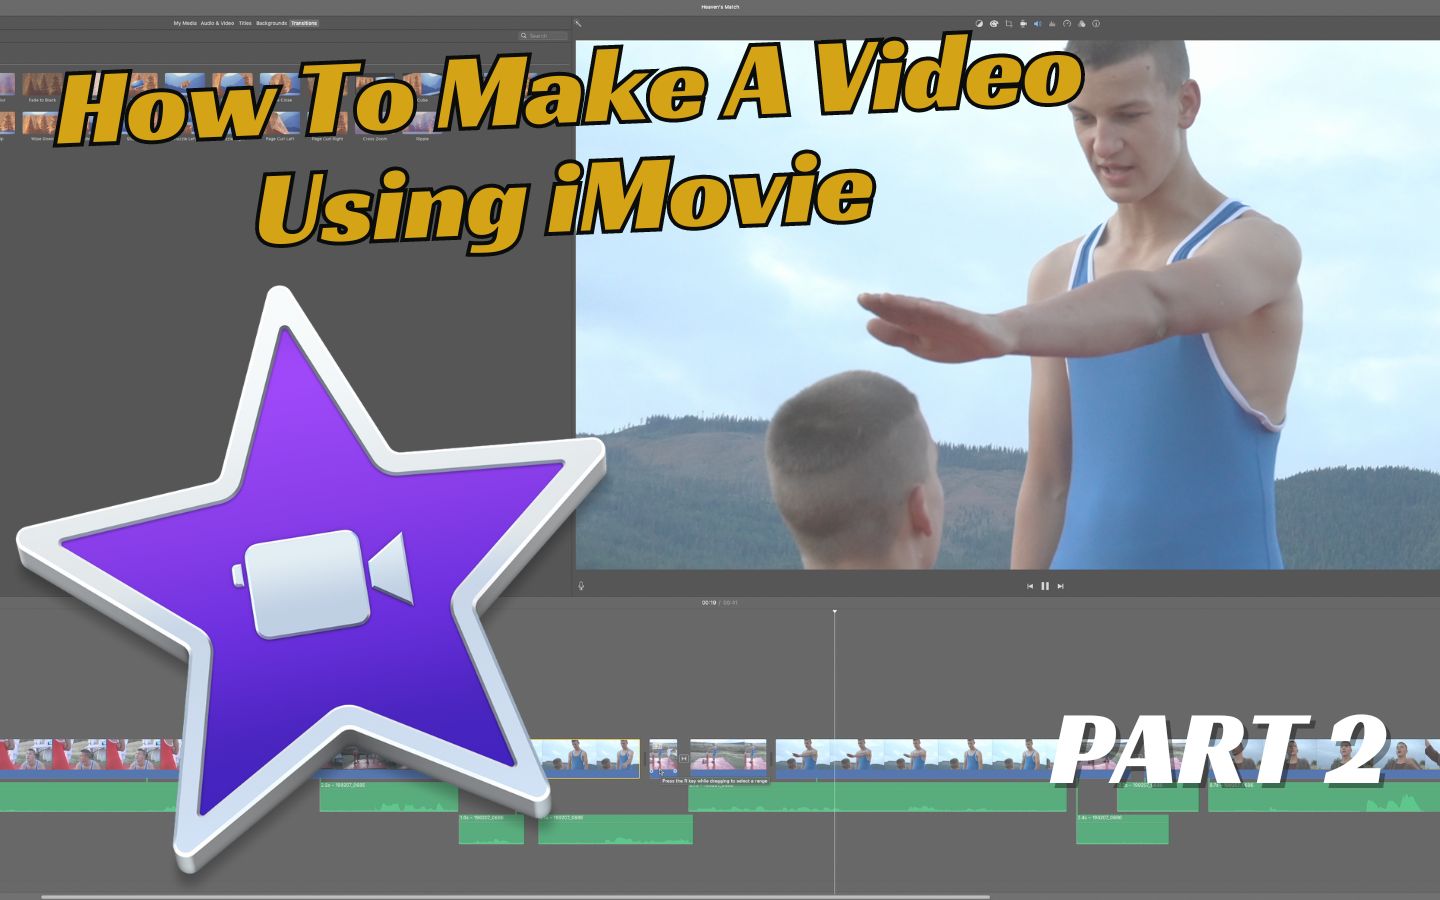
In the below video I begin to edit a movie. I run through how to cut and shorten clips, how to match audio tracks and finally I spend a few minutes polishing the scene. Let's move on to part 2...
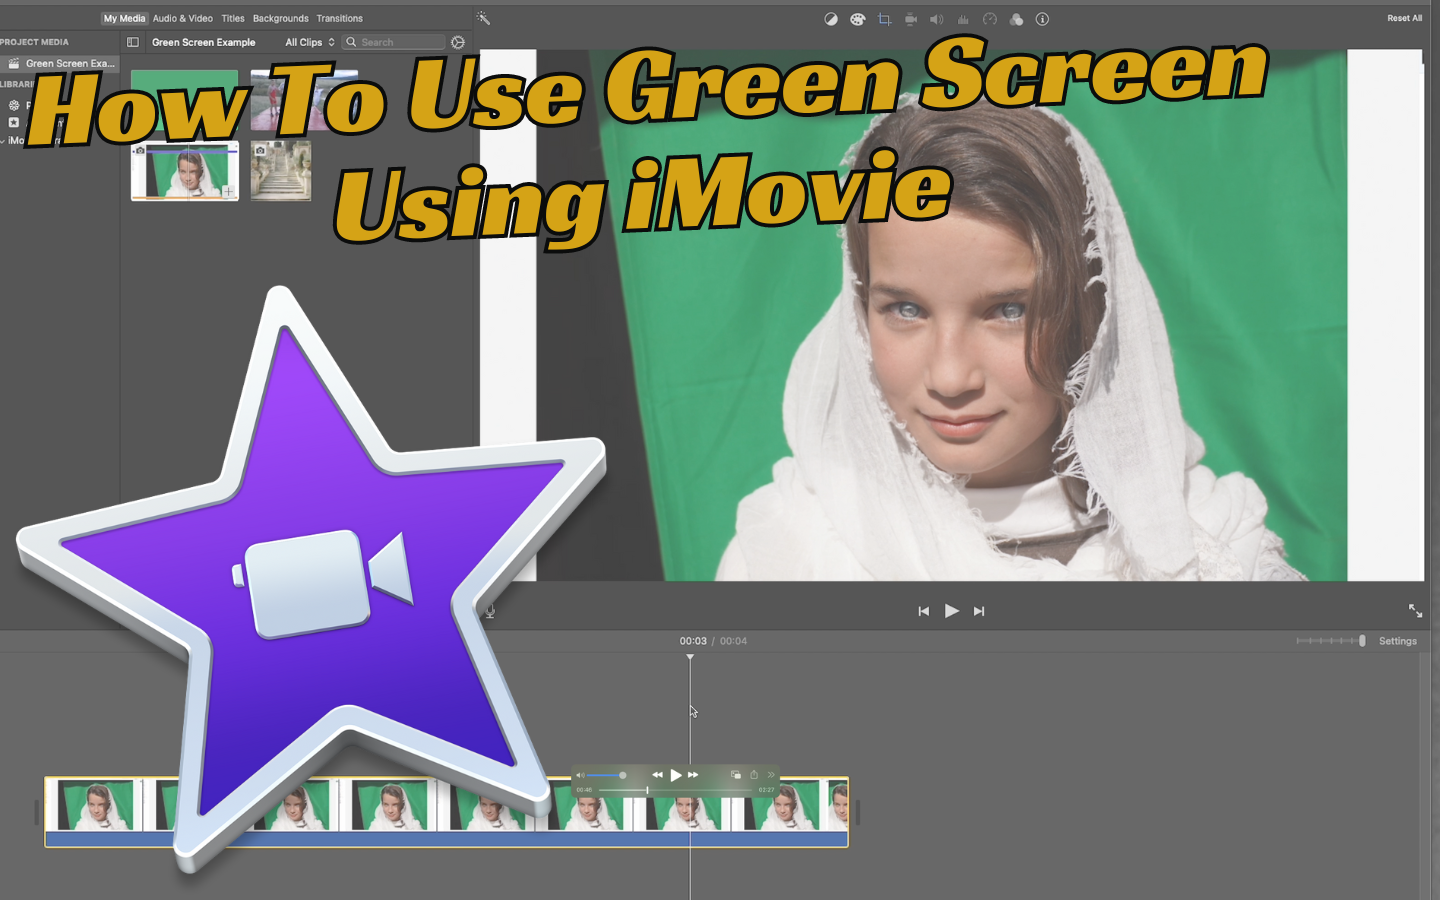
One final area which is good to learn how to master is the green screen feature in iMovie. Here I edit a photo background but the same applies to videos. Let's check it out together...
How To Make A Video Using Adobe Premiere Pro
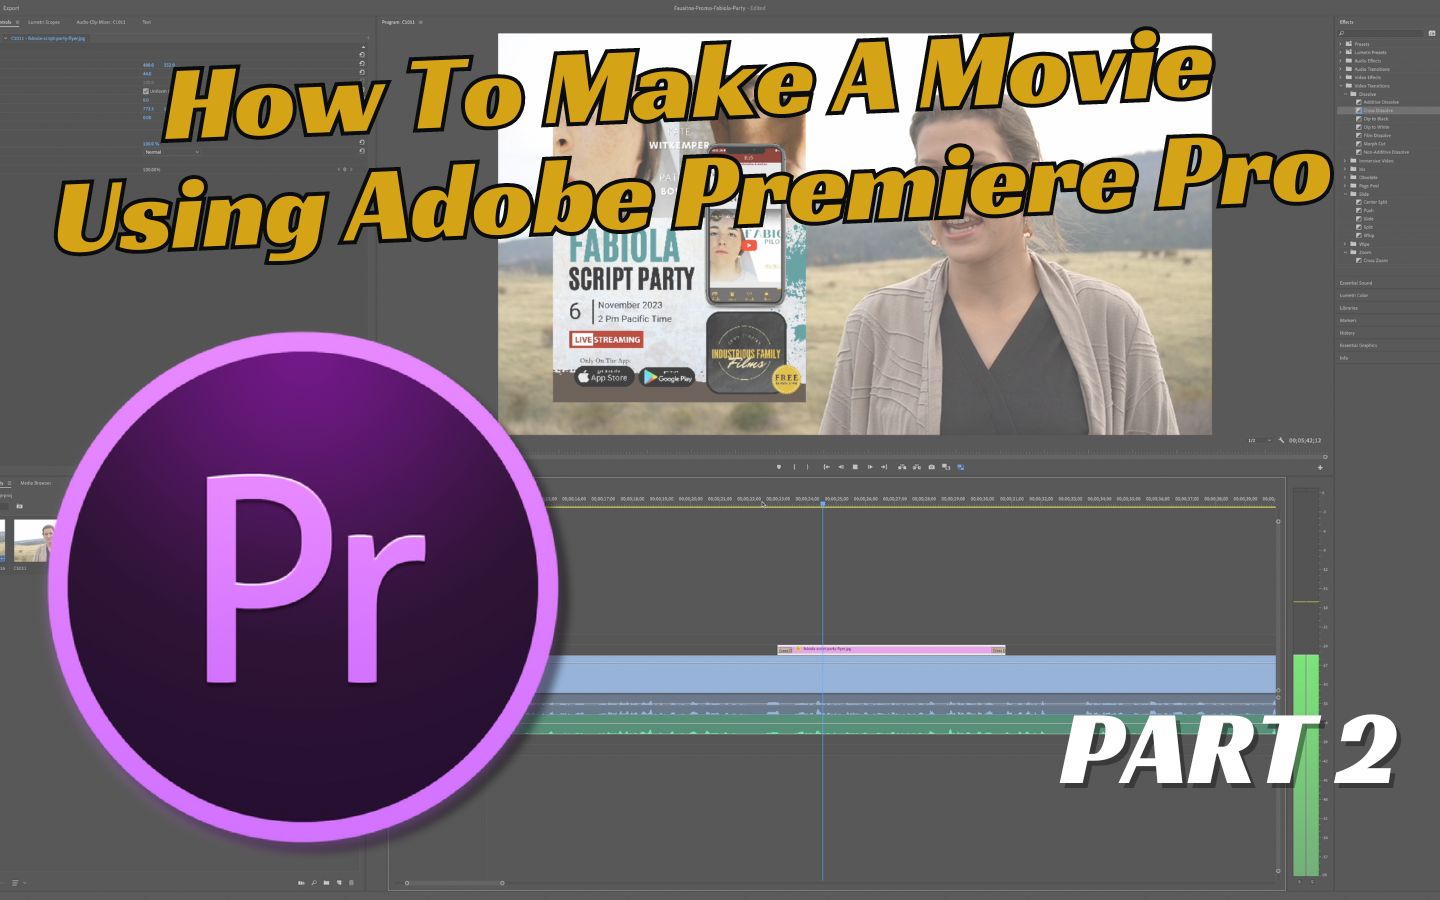
There is no amount of video tutorial to cover all the things that you can learn with this software. I cover how to import footage, how to basically edit footage, how to match audio and how to export the movie. If you need a quick reminder on how to do something or if you are needing to learn how to locate something new, Adobe In A Minute (YouTube channel) has helped me tremendously.
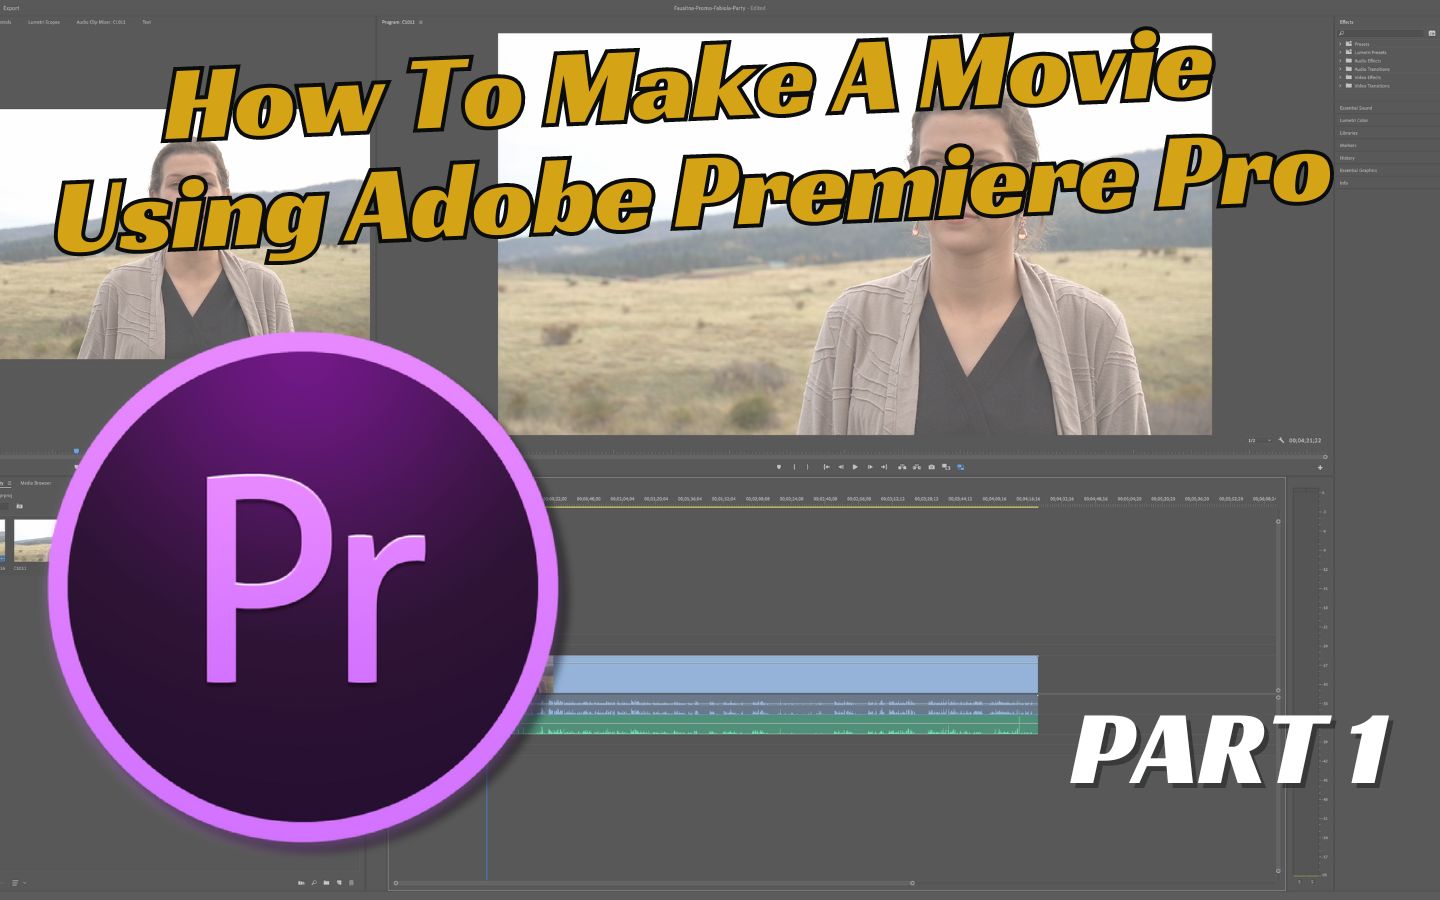
In this first video I will simple show you how to import your first clips of raw footage into Adobe Pro. You will learn the same basics as before but you will learn how to locate these tools in the vast world of Adobe. Here we go!
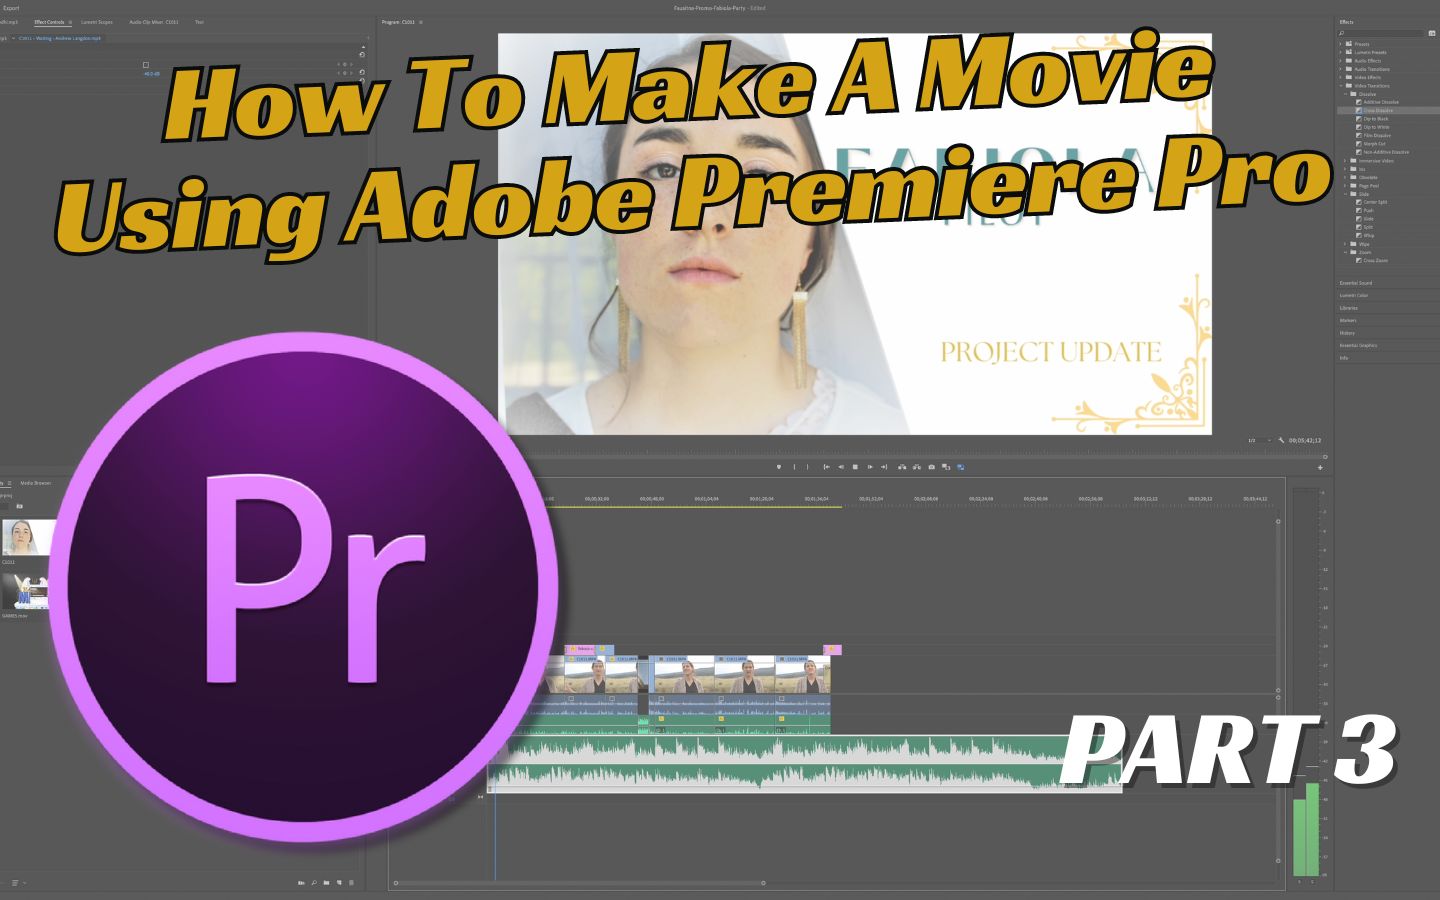
In this next video, I go over how to cut footage, match audio and add transitions. This tutorial also includes how to add footage to a second video track and how to adjust the added footage. Let's move on to part 2...
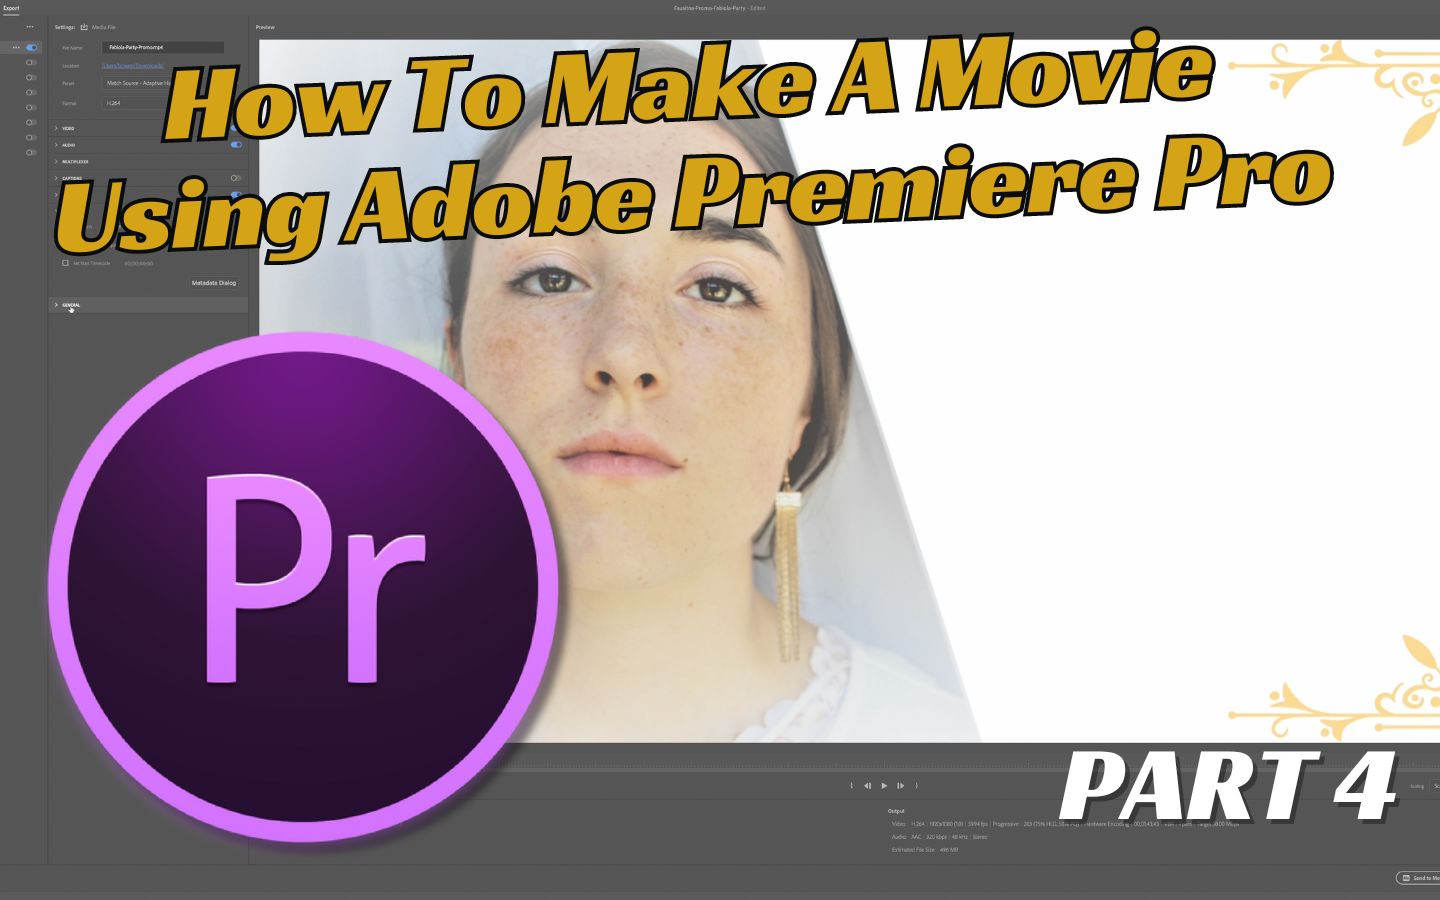
Now the video is basically done it is time to polish the movie until it is perfect. This part is heavily focused on audio. By the end of this process you should have a video complete with smooth audio transitions and music. Let's wrap it up...
Here I cover the final step on editing your movie: Exporting it as a file. See how...
Task 3 Checklist:
Regardless of what kind of editor you use, you are going to need to follow these steps:
1. Start a new project.
2. Add footage and audio files for the scene you are editing.
3. Match audio to the video clips.
4. Cut and order tracks.
5. Add transitions, fades and make each clip run smoothly into the next clip.
6. Source music.
7. Export the video.
Make sure that you always insert and eject drives properly to protect your files!
Another useful skill you will want to be at least familiar with is green screening.
Applying Your Own Video Editing Techniques
The above videos show my personal technique. The way that you edit will be as personal and unique as the stories that you tell. Find your style and technique while you edit. There is so much more that could be covered in this area, this is just scratching the surface of how to make a video.
If you learn more as you go along and find your true editing style, you will be able to tell personal and unique stories through film. Have fun!
Once you have completely edited the film to your satisfaction, it's time to move onto the next phase which covers marketing for a premiere:
